Synthetic Dataset using Blender+Python: Part 1
Exploring Basic Blender Functionalities
The tutorial explores basic functionalities of Blender that are required for our goal: generating synthetic dataset using Blender+Python. Blender can do pretty much anything related to graphic manipulation, from Sculpting to VFX, Blender has you covered.
Pre-Requisite: Install Blender from official site. I am using 2.91.0. on Ubuntu 20.01.
$ sudo snap install blender --classic #installs current stable version
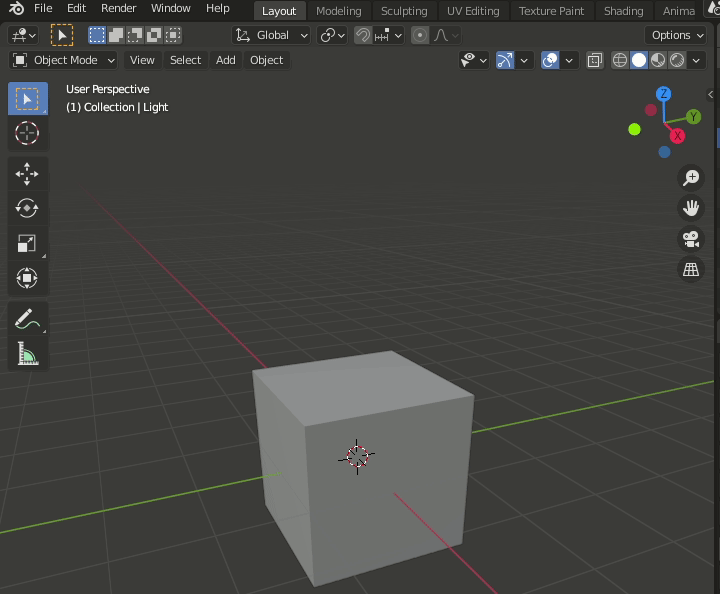
Now, Launch it by clicking on the icon or using your terminal and hitting blender + Enter (Highly Recommended). Running using Clicks/GUI can lead to the errors not getting logged onto the console. Hence, avoid it. You should see Blender open up. The default project gives the cube centered at the origin.

It is suggested to replace the cube with your object of interest and place it too at the origin. Replacement is as simple as importing a .stl or VRML file (.wrl) file of your 3D object into Blender. There are many other supported formats to import.

Views: The design/development process is generally fragmented. A typical blender project involves getting the object right; means the mesh as well as the solid are correct. This is followed by setting an environment and the attributes of the objects (like the color) and finally, the render: speaks for itself. Each stage requires more computation resources than the former. Hence, it is generally avoided to use the render view while developing, except for making sure the output of each step looks as desired. The viewport panel provides the options:
- WireFrame
- Solid
- Material Preview
- Rendered
Rotating the View: The 3D navigation in the workspace is performed by panning using the axes on the top right. Zoom In or Zoom Out is done using Mouse Wheel or by sliding dual fingers on the touchpad.
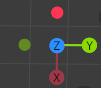
The color of the axes should be noticed. RED for X, GREEN for Y and BLUE for Z.
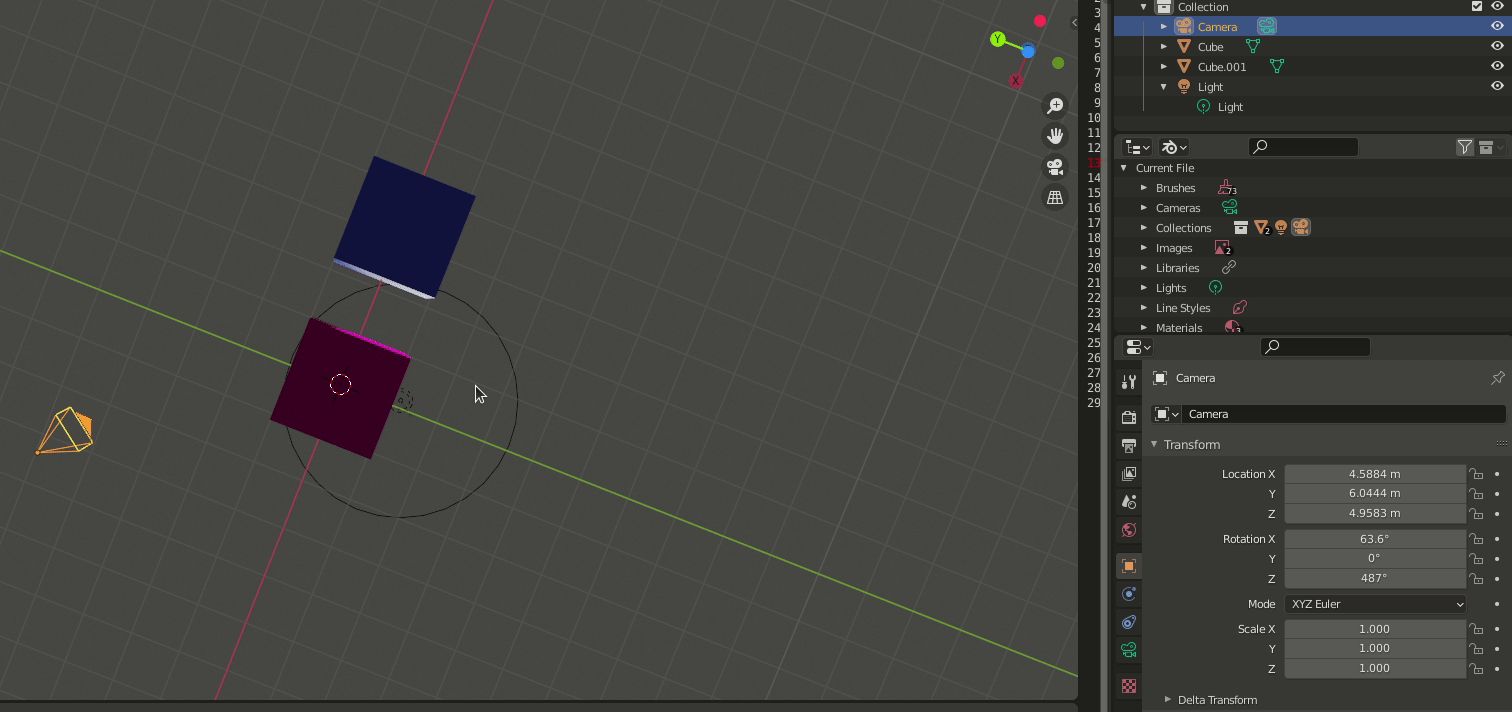
Objects and their Manipulation: The Scene Collection contains all the objects present in the current scene. Objects include 3D objects (like the default Cube), cameras and lights.
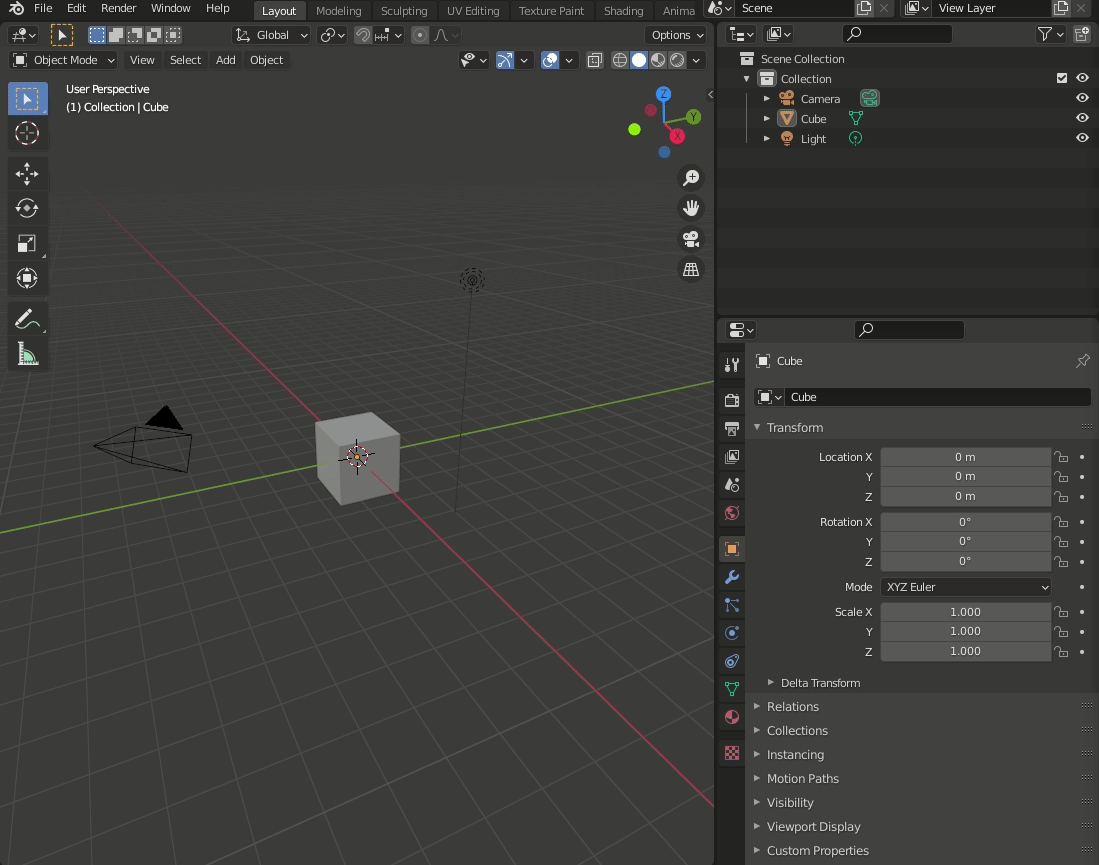
Each object has its unique properties and can be manipulated. Objects like the Cube can be relocated, colored, etc. To see the effect of any change, one must switch to either Material Preview or Rendered view mode. To manipulate an object, one must select it (using a single click) before tweaking its parameters.
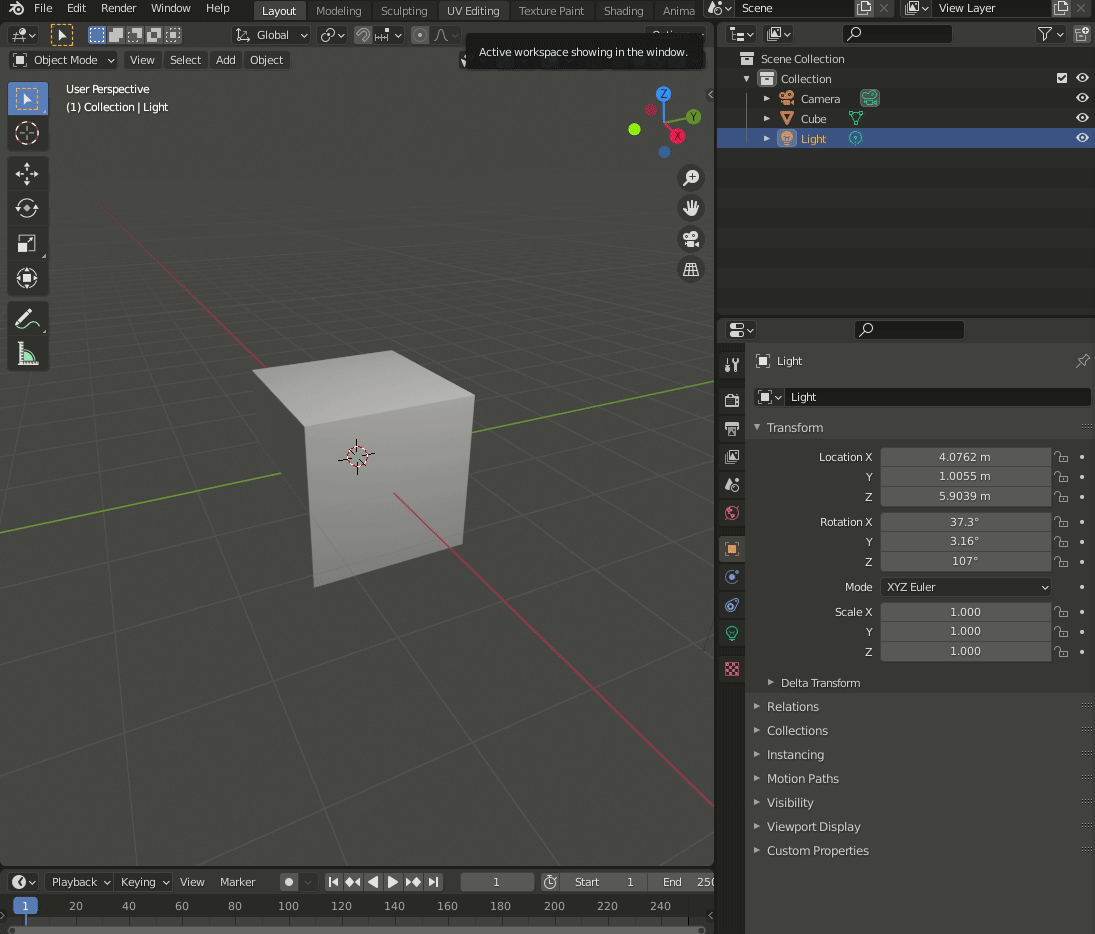
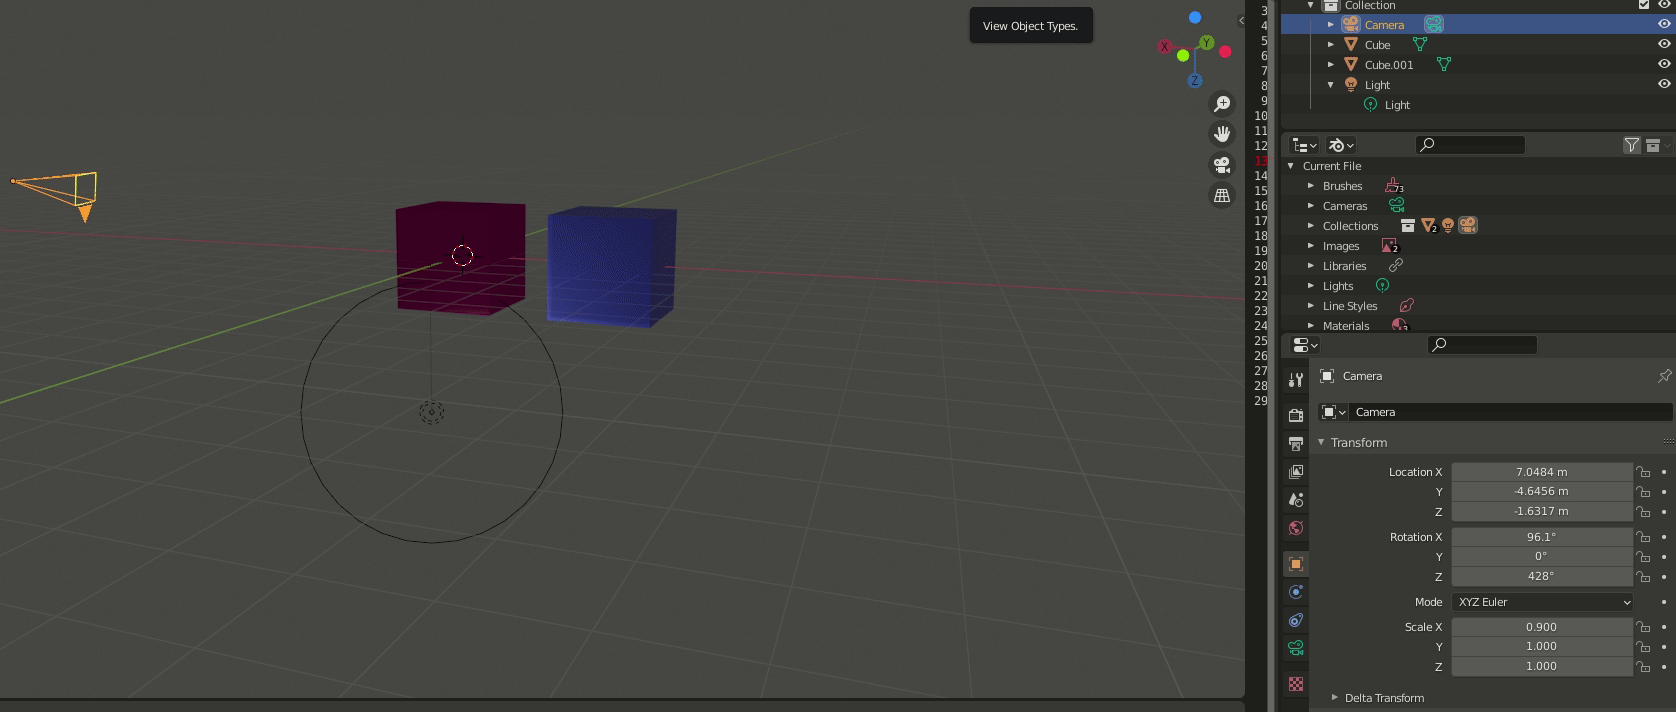
The Camera depicts what the output render would look like. It must be used wisely. It can be handled as an object and its extrinsics can be tweaked easily.
For a more direct and accurate visualisation on what the end product would look like, the camera view can be toggled while playing with camera parameters.
Python Scripting: Blender comes with a Python API. Its a powerful utility and can be used anything otherwise done using the GUI. Scripting can be enabled by selecting the scripting tab. The in-built shell is capable of any other console used to handle Blender.

All the errors are logged on the terminal used to launch Blender. This may be missing in case the launch is made using GUI.

Running scripts from external file: It is a cumbersome task to use the in-built editor and the console everytime. Its always a better option to use your favourite editor like Atom or VS Code or Sublime Text. You can always create/edit your scripts how you do with other Python files. To run it using the Blender-Python API, run it as:
$ blender -b ~/PATH/TO/BLEND/FILE.blend -P ~/PATH/TO/PYTHON/SCRIPT.py
For instance,
$ blender -b ~/Videos/blender/panel-synthetic-dataset.blend -P ~/Videos/blender/test_synthetic.py
Rendering Files: The scripts can be used to render files as well. The format of the renders can be set accordingly.
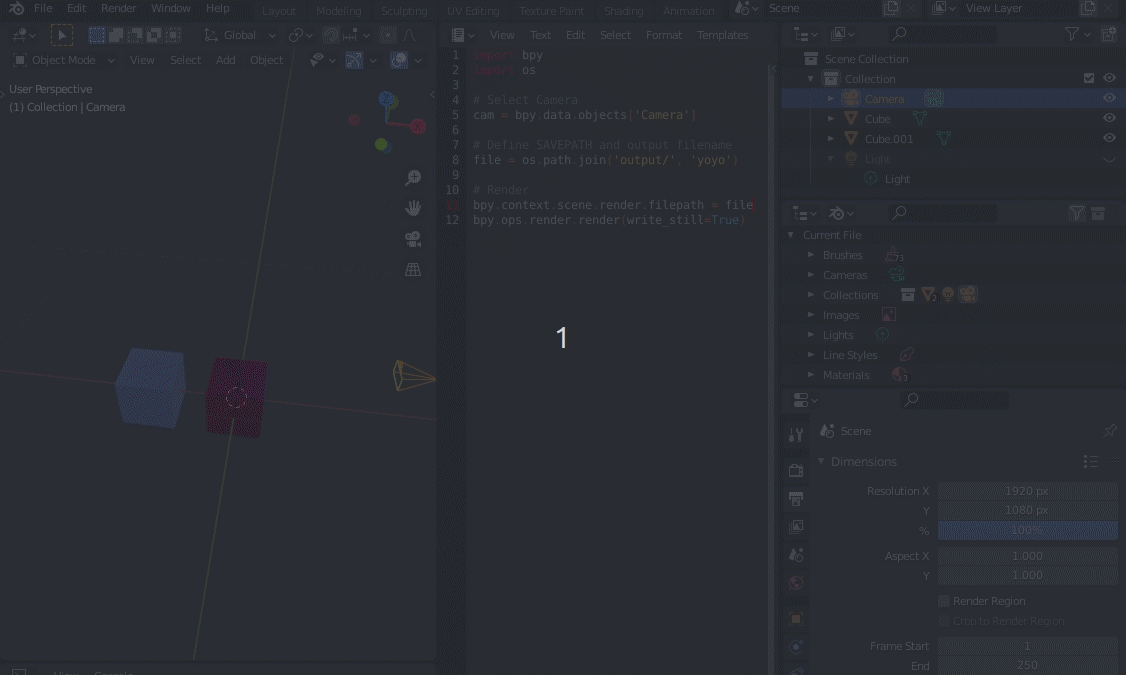
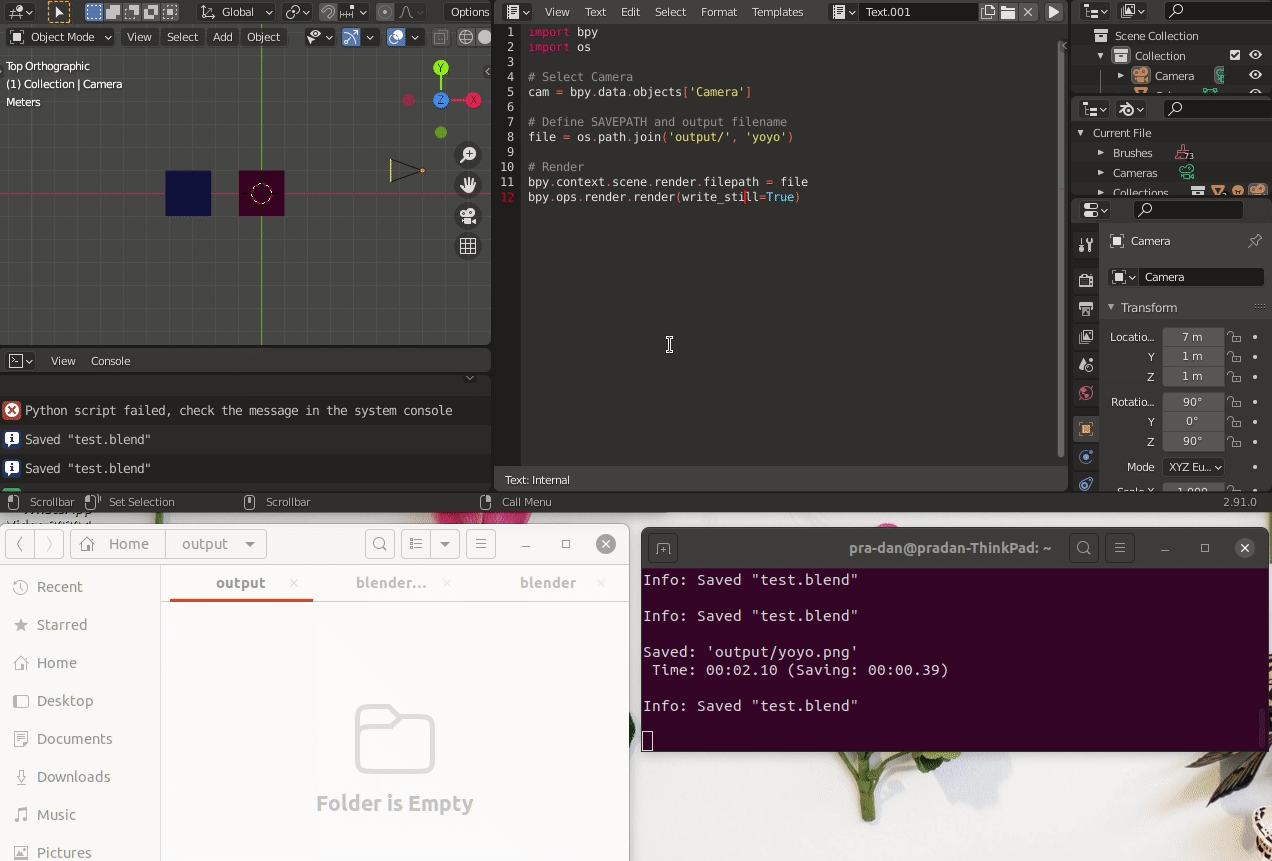
A simple script like
import bpy
import os

# Select Camera
cam = bpy.data.objects['Camera']

# Define SAVEPATH and output filename
file = os.path.join('output/', 'yoyo')

# Render
bpy.context.scene.render.filepath = file
bpy.ops.render.render(write_still=True)
will render and save what the selected camera sees in the defined SAVEPATH. The directory output/ is created in the present working directory, and can be checked by $ pwd in the terminal.
That’s all you need to get started with you synthetic dataset. Till the next part, Namaste :)